

Add animation to your frontend project with just 3 lines of code using this awesome library


So, if you're anything like me, then I'm pretty sure you enjoy browsing through or creating stunning websites and web applications. And we can all agree that simple elements like layout, font styles, animations, and colors, among others, are some of the things that give a website or web application a beautiful appearance.
And speaking of animations, I'm willing to bet a bottom dollar that every front-end developer, novice or not, can name at least three animation libraries off the top of their heads. However, the problem with the majority of the widely used animation libraries, such as framer motion, gsap, etc. is that they all have a slightly steep learning curve. And I'm not at all implying that it's difficult to learn, I'm just saying that it might take some time to understand for a complete novice. Let's also not forget that some of them can occasionally be a bit overkill. For instance, some of the well-known frameworks might be a bit much for use cases where a developer has a small project that only needs very basic animations, such as a smooth fade in when an item is added and fade out when an item is deleted.
The library I'm going to show you today is perfect for such projects that require simple and seamless animations. It is the auto-animate library by formkit. With fewer lines of code than any other animation library I've used, this one enables you to create very straightforward and simple animations.
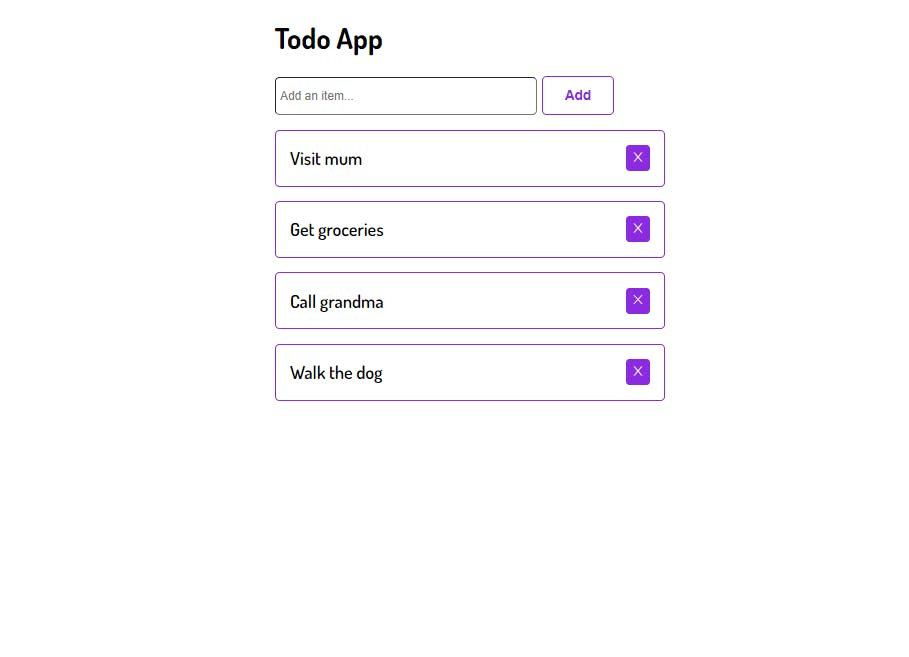
Below, I have a very simple todo app built using react, nothing too fancy. It has the basic todo app functionality, enter a task, click on the add button, and it adds the task that is then displayed below, I also can delete any item by clicking on the delete button.
It's fairly easy to use the auto animate library to add a simple smooth fade in and fade out animation whenever I add or delete an item in my project. First, I install the library. Install the library by using one of the available package managers.
Install with npm:
npm install @formkit/auto-animate
Install with yarn:
yarn add @formkit/auto-animate
Install with pnpm:
pnpm add @formkit/auto-animate
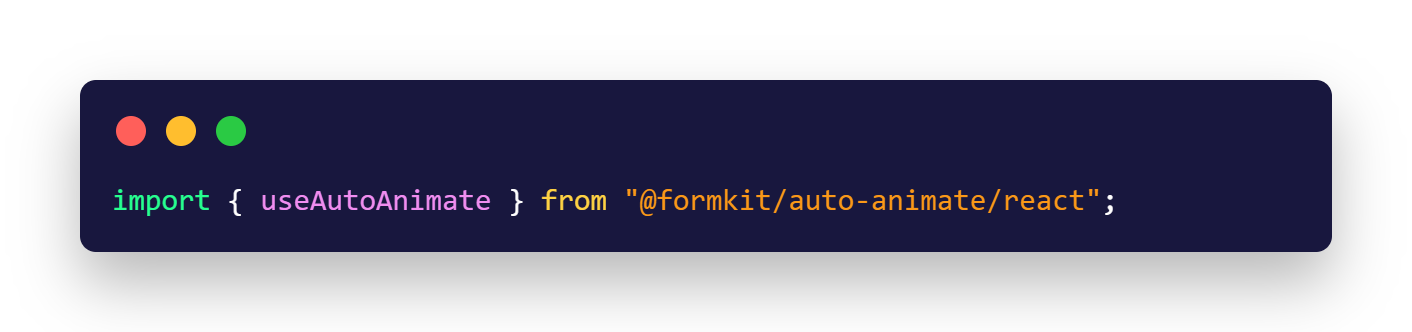
After installation, I import the useAutoAnimate hook in my project
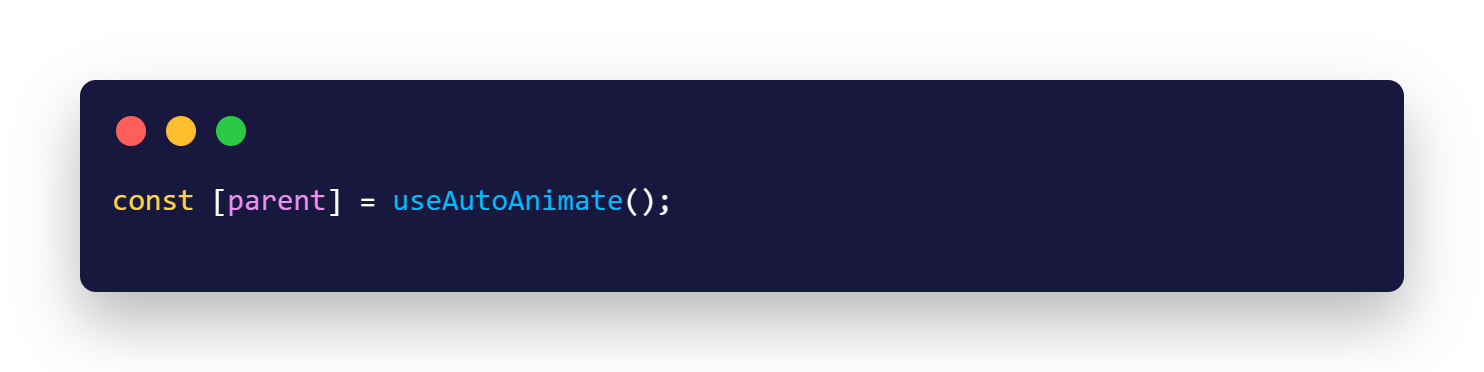
Get the ref returned by the hook
Apply it to my parent element, which in this case is the ul tag, using the ref attribute.
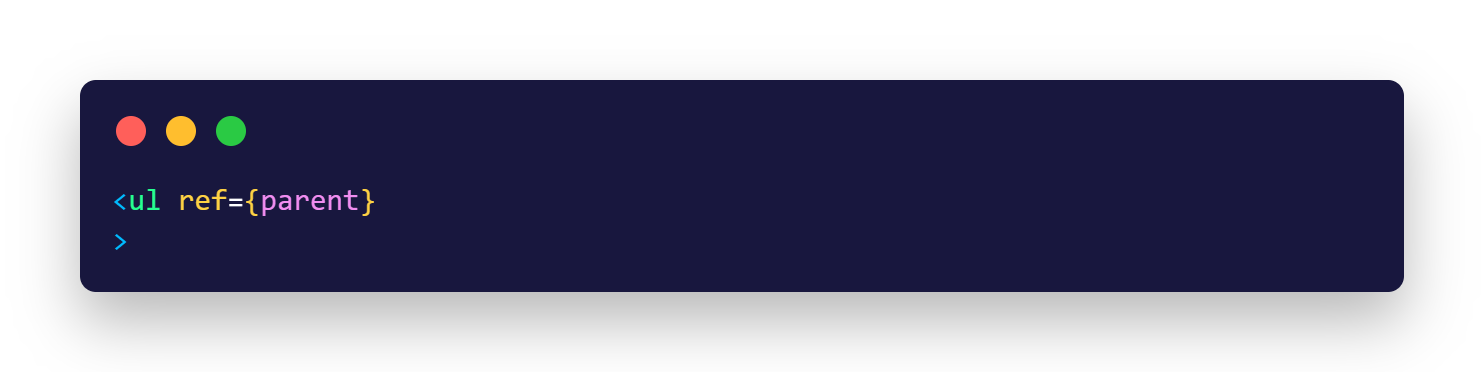
And that's it, literally 3 lines of code is all it takes.

You can also choose to add extra configuration if you want, like changing the duration or transition...

It is also important to state that you can use the auto-animate library with other frontend frameworks like vue, angular, svelte and even vanilla javascript. Check out the official website here to see what more you can do with this awesome library.